
Anúncios
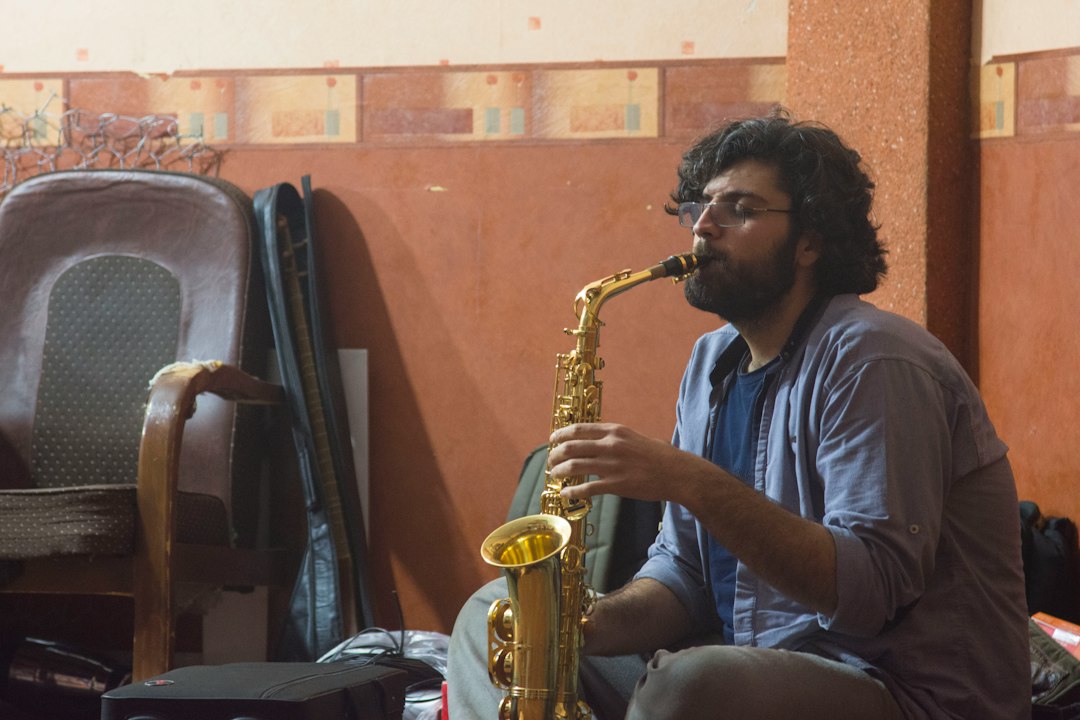
Learning to play saxophone opens a world of jazz, pop, and soul music, blending breath control, finger technique, and musical ear training into one rewarding instrument. 🎷
Whether you dream of playing smooth jazz solos or funky riffs, the saxophone rewards patience and consistent practice. It’s an instrument that forgives early mistakes while still challenging advanced players for years.
This guide breaks down exactly how to start, what gear you need, and which practice habits actually build real progress — no fluff, just practical steps grounded in how musicians actually learn.
Choosing Your First Saxophone: Alto vs Tenor vs Soprano#
Most beginners start with the alto saxophone. It’s lighter, easier to hold, and its reeds require less air pressure than a tenor. This makes it friendlier for kids and adults with smaller lung capacity.
The tenor saxophone has a deeper, warmer tone and dominates jazz and blues recordings. It’s larger and heavier, requiring more breath support, but many players find its sound more satisfying once they build endurance.
Soprano saxophone looks like a straight metal tube and demands precise embouchure control. It’s unforgiving for beginners because pitch accuracy depends heavily on lip tension. Save this one for after you’ve built solid fundamentals on alto or tenor.
- Alto sax: best for beginners, price range $400–$1,200 for quality student models
- Tenor sax: better for jazz-focused learners, $600–$1,800 for entry-level
- Soprano sax: advanced choice, $500–$1,500, steep learning curve


Renting vs Buying: What Makes Financial Sense#
Many music stores offer rental programs for $30–$60 per month, often applying payments toward a future purchase. This is smart if you’re unsure whether you’ll stick with the instrument long-term.
If you’re committed, buying a used student model from brands like Yamaha YAS-23 or Jupiter can save hundreds of dollars compared to new instruments, without sacrificing reliability.
Building the Foundation: Embouchure and Breathing#
Your embouchure — the way your mouth shapes around the mouthpiece — determines tone quality more than any other factor. Beginners often bite too hard, which produces a thin, squeaky sound.
The correct approach: rest your bottom lip slightly over your bottom teeth, close your mouth around the mouthpiece with firm but relaxed pressure, and let your cheeks stay flat, not puffed out.
Breathing matters just as much. Saxophone playing uses diaphragmatic breathing, not shallow chest breaths. Practice this simple exercise daily:
- Inhale deeply through your nose for 4 counts, expanding your belly outward
- Hold for 2 counts
- Exhale slowly through pursed lips for 8 counts
- Repeat 5 times before every practice session
This exercise alone improves breath support within two to three weeks of consistent practice, giving you longer, steadier notes.
Producing Your First Sustained Note#
Before touching the keys, practice just blowing through the mouthpiece and neck (without the body) to get a clean, consistent buzz. This isolates embouchure problems without the complexity of fingering.
Once you attach the full instrument, aim to hold a single note — usually a middle G or A — for 10 full seconds without wavering in pitch or volume. This single drill reveals more about your technique than rushing into songs.
Learning the Fingerings and Reading Music#
The saxophone uses a logical fingering system, but muscle memory takes time. Most teachers recommend starting with these five notes in this order:
| Note | Difficulty | Common Use |
|---|---|---|
| B | Easiest | First note taught, minimal fingers used |
| A | Easy | Builds on B fingering pattern |
| G | Easy | Completes basic three-note range |
| C | Moderate | Introduces octave key usage |
| D | Moderate | Expands range for simple melodies |
With just these five notes, beginners can play simplified versions of songs like “Mary Had a Little Lamb” or “Hot Cross Buns” within the first week of practice.
Should You Learn Sheet Music or Play by Ear?#
Both skills matter, but sheet music reading accelerates progress because it exposes you to rhythm patterns and note relationships systematically. Apps that provide real-time feedback on pitch accuracy — like Tonestro — help bridge the gap between reading notes and actually playing them correctly.
Ear training, meanwhile, builds improvisation skills essential for jazz. Try humming a simple melody, then figuring out the notes on your saxophone by trial and error. This habit, done 10 minutes daily, sharpens your musical instincts significantly over a few months.

Saxophone Lessons - tonestro
Installs100K+
Size244.3MB
PlatformAndroid/iOS
PriceFree
Information about size, installs, and rating may change as the app is updated in the official stores.
Creating a Practice Routine That Actually Works#
Random practice sessions without structure lead to slow progress and frustration. A focused 30-minute daily routine beats an unstructured two-hour weekend session every time.
Here’s a realistic breakdown for beginners:
- 5 minutes: breathing exercises and embouchure warm-up
- 10 minutes: long tones on each note you’ve learned, focusing on steady pitch
- 10 minutes: scales or simple exercises from a method book
- 5 minutes: playing a song or melody you enjoy
Consistency beats intensity. Players who practice 20 minutes daily for a month typically outpace those who practice two hours once a week, because muscle memory requires frequent repetition, not marathon sessions.
Common Mistakes That Slow Down Progress#
Many beginners fall into predictable traps that stall their development. Recognizing these early saves months of frustration:
- Skipping warm-ups: jumping straight into songs without loosening embouchure muscles leads to inconsistent tone
- Ignoring posture: slouching restricts airflow and causes fatigue faster
- Avoiding a metronome: rhythm problems compound over time if not corrected early
- Ineffective reed care: using a dry or chipped reed produces unreliable sound no matter how good your technique is
Reed Selection and Maintenance Basics#
Reeds dramatically affect your sound and playing ease. Beginners should start with a 2 or 2.5 strength reed — softer reeds vibrate more easily, requiring less air pressure while you’re still building embouchure strength.
As your technique improves, typically after three to six months, you can progress to 3 or 3.5 strength reeds for a fuller, more controlled tone.
Keep multiple reeds in rotation rather than relying on just one. Reeds need 24 hours to dry fully between uses, and rotating four or five reeds extends their lifespan while keeping backup options ready if one chips or warps.
When to Consider Private Lessons#
Self-teaching through apps and online videos works well for the first three to six months. But a qualified teacher catches subtle embouchure or posture issues that are nearly impossible to self-diagnose.
Many players benefit from a hybrid approach: daily self-practice using structured apps, combined with one lesson every two weeks for technique correction and repertoire guidance. This balances cost with personalized feedback.
Setting Realistic Milestones for Progress#
Understanding what’s achievable at each stage keeps motivation high and expectations grounded:
| Timeframe | Expected Skill Level |
|---|---|
| 1 month | Play five to seven notes, hold steady tones, basic simple melodies |
| 3 months | Full first octave, simple songs with rhythm, basic major scale |
| 6 months | Two octaves, multiple scales, playing along with backing tracks |
| 1 year | Comfortable improvisation basics, intermediate repertoire, better tone control |
These timelines assume consistent daily practice. Players who practice sporadically will naturally progress slower, while those using structured feedback tools often hit these milestones faster than average.
The saxophone rewards those who show up daily, even for just 15 or 20 minutes. Progress compounds quietly until, one day, you realize you’re actually playing music instead of just making noise — and that moment makes every squeaky note along the way worth it. 🎶

Keep reading
You might also like

Open Relationships: Married Couples Seeking Partners Together
Open marriages are becoming a topic couples discuss openly, especially when they start inviting other people into their dynamic as a unit…

How to Build Emergency Kits for Power Outage Survival
When the power grid fails, having a well-organized emergency kit makes the difference between chaos and calm. Here's how to build yours.…